Generate XLIFF
About this task
Follow these steps to generate XLIFF
files that you can send to your Language Service
Provider (LSP) for translating your DITA projects.
Procedure
- In Projects view, select the project that will be translated.
- In main menu, select or click the
 Generate XLIFF button in the
Projects view toolbar.The Generate XLIFF dialog appears:
Generate XLIFF button in the
Projects view toolbar.The Generate XLIFF dialog appears: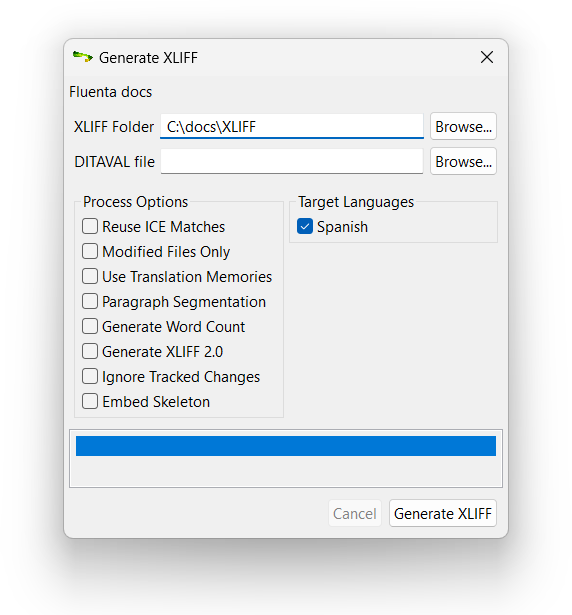
- Type the name of the folder where the XLIFF files should be placed in the XLIFF Folder text box or use the Browse... button to select a folder in the file system.
- If you need to exclude some topics, enter the name of a DITAVAL file that you want to use for conditional processing in the DITAVAL File text box or use the Browse... button next to it to select a file from the file system.
- Use the XLIFF Version radio buttons to select the
version of XLIFF to generate, current supported options are
1.2,2.0,2.1and2.2. - Select the Reuse ICE Matches check box if you want to compare current content with the content available last time an XLIFF file was generated and reuse all existing translations.
- Select the Modified Files Only check box to exclude from the generated XLIFF files those topics that have not changed since the last translation cycle.
- Select the Use Translation Memories check box if you want to recover translations for untranslated segments using the memories associated with the project.
- Select the Paragraph Segmentation check box if you need
paragraph instead of sentence segmentation (default).One advantage of paragraph segmentation over sentence segmentation in translation is that it can capture more context and coherence within a text unit.
- Select the Generate Word Count check box if you want a statistic analysis to be generated for each target language.
- Select the Ignore Tracked Changes check box to ignore tracked changes from Oxygen XML Editor, improving text segmentation.
- Select the Ignore SVG Files check box to exclude SVG files that contain translatable text.
- Select the Embed Skeleton check box if you need XLIFF files that can be converted back to DITA in any computer using OpenXLIFF Filters or XLIFF Manager.
- Select the check boxes corresponding to the target languages that you want to process.
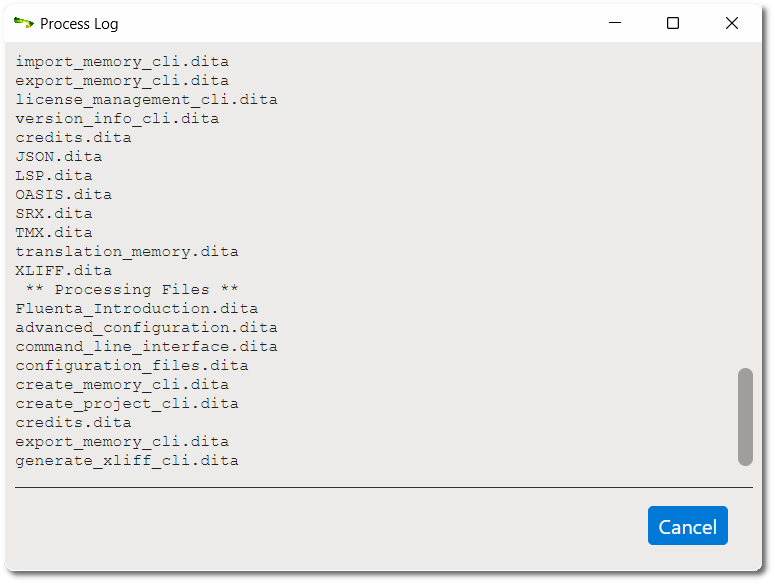
- Click the Generate XLIFF button.The Process Log dialog appears:Click the Cancel button to interrupt XLIFF generation if needed.