Create XLIFF File
About this task
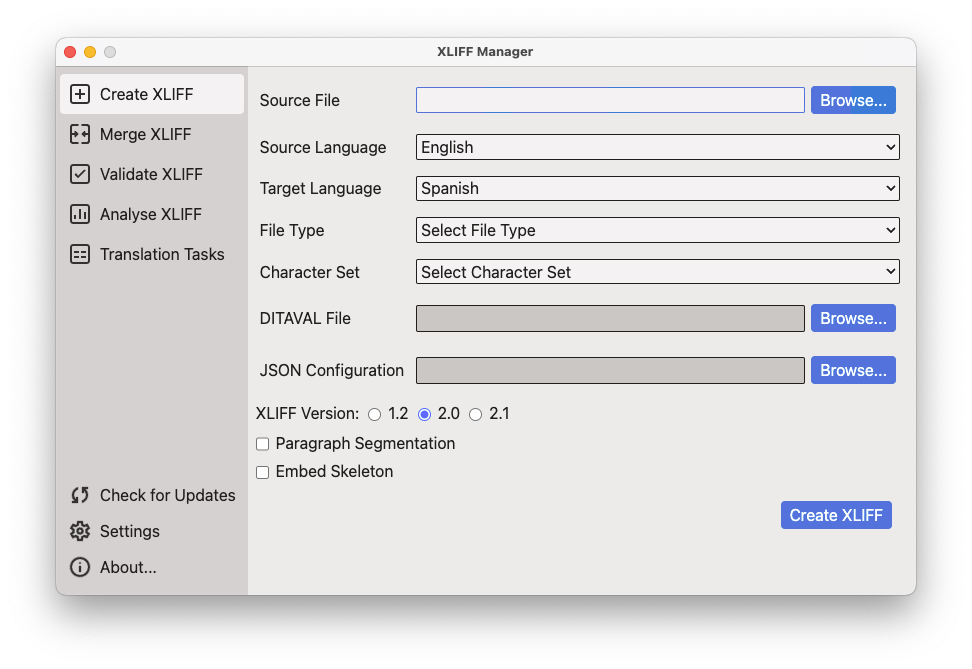
Use the Create XLIFF panel to generate an XLIFF file from a selected document.
Procedure
- In main menu, select or click the
 Create XLIFF option on the left panel.
 - Type the name and location of the document to convert to XLIFF in the Source
File text box or click the Browse... button next to
it to select a document from the file system.

Tip
If you use the Browse... button to select a file, the program tries to automatically guess its file type and character set. - Select the language of the document to convert using the Source Language drop-down list.
- Optionally, select the language of the translated document using the Target Language drop-down list.
- Select or adjust the type of source document using the File Type drop-down list.
- Select or adjust the character set of the source document using the Character Set drop-down list.
- If you are converting a DITA map and need to use a .ditaval file for conditional filtering, enter its path in the DITAVAL File text box or use the Browse... button next to it to select a file from the file system.
- Select the Ignore Translatable SVG Files checkbox if you are converting a DITA map and need to exclude SVG files from the generated XLIFF.
- If you are converting a JSON document and need to use a custom configuration file,
enter its name and location in the JSON Configuration text box or
use the Browse... button next to it to select a file from the file
system.
Tip
Information on configuration files for the JSON filter is available at https://github.com/maxprograms-com/OpenXLIFF - Use the XLIFF Version radio buttons to select the version of
XLIFF that you want to generate.

NOTICE
The program generates XLIFF 2.1 by default. - Select the Paragraph Segmentation checkbox if you want source text to be segmented at paragraph level.
- Select the Embed Skeleton checkbox if you want the skeleton file
to be inserted in the generated XLIFF.
NOTICE
The program generates a separated skeleton file in the folder defined in Settings dialog. An embedded skeleton allows merging the XLIFF file in any computer, not just the one where the XLIFF was generated. - Click the Create XLIFF button.
Results
The program generates an XLIFF file and the corresponding skeleton.